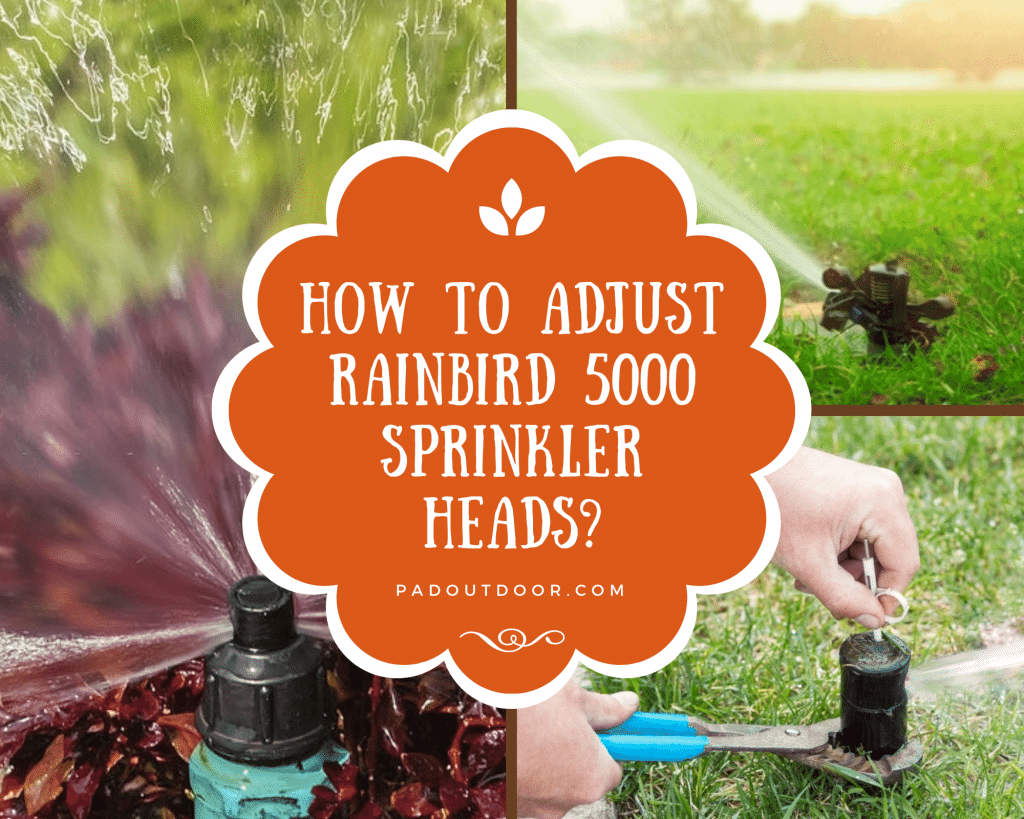
This short guide will give you the basic steps on how to adjust Rainbird 5000 sprinkler heads without any trouble. Just check out the short guide below.

If you’re looking for one of the best sprinkler heads in the market, you’ll definitely love the Rainbird 5000 inground sprinkler system.
But if you are a first-time user of this sprinkler system, you might have a hard time adjusting it. Fortunately though, it is a very reliable sprinkler and is not that hard to adjust.
As long as you know how to adjust Rainbird 5000 sprinkler heads, then you won’t have any problem with your Rainbird 5000 adjustment.
All you need to do is follow these simple steps below:
How To Adjust Rainbird 5000 Sprinkler Heads (Steps)
Now, do take note that these steps can most likely be found in your Rainbird 5000 manual. But we all know that these technical manuals are sometimes really hard to understand– especially with all the small text and complicated words.
That’s why we decided to just simplify things and make a step by step guide that doesn’t make use of such hard-to-understand terms.
So, here we go with our guide on how to adjust on Rainbird 5000 rotor sprinkler heads:
1. Adjust The Hard Stop Setting Of The Sprinkler Head
The first thing to do is adjust the sprinkler head. To do this, just turn the head all the way to the right and then turn it to the left again. By doing this, you will be able to make a hard stop. This will stop all of the functions at once.
2. Adjust The Left Side Of The Sprinkler
Next, you need to adjust the left side of the spray. To do this, bring out a pair of pliers and rotate the head to the right side until the sprinkler reaches the area on the left side you want it to stop at. If you do this correctly, you won’t have to worry about the water spraying everywhere.
3. Adjust The Right Side Of The Sprinkler
After that, you need to make a right stop or stop the right side of the sprinkler. You will need to make use of a flat screwdriver for this. Rotate the head all the way to the right and then to the left. Turn it all the way to the left until the right side reaches the area where you want it to stop.
4. Set The Spray Pattern
With that out of the way, the next set is to decrease the spray pattern. To do this, screw the nozzle clockwise to decrease it. If you want to increase it, then screw it clockwise. Make sure to screw it slowly so that you can get the ideal spray pattern.
5. Repeat The Steps 2 And 3
The last thing to do is verification. If the sprinklers weren’t adjusted properly, then there was probably an issue somewhere in the second or third step. That said, all you need to do is go back to the 2nd step then the 3rd step to know.
See how easy that was?
Now, to give you a little extra treat, we decided to add our favorite sprinkler to this guide. This is a great choice to have if you want to install a sprinkler head.
With your guide on how to change a Rainbird 5000 sprinkler head, you can install this one without having any worries on adjustments.
Check out our top choice below:
Rainbird 5000 Plus Sprinkler Head Review 2020
Rainbird 5000 Plus Series Full Circle Rotor

This is one of the most robust Rainbird 5000 sprinkler heads you can ever find. It is a full on heavy-duty sprinkler that has a durable cover with rain curtain nozzles. If you happen to be looking for a sprinkler that will last long, this is definitely a good choice. It also has a slip clutch mechanism so that you can do adjustments easily. With our guide and this feature, you should have absolutely no trouble.
Best Features:
- 4-inch rotor size
- Slip clutch feature
- Durable and hard cover
- 360-degree arc rotation
- 25% radius adjustment screw
Conclusion
And that ends our guide on how to adjust Rainbird 5000 sprinkler heads.
Do you think it’s useful?
If you did, share it around! You’ll probably have other friends who will benefit from this guide as well.
Have a good day!


